This post is about how to start a blog easily and will show you the exact steps for setting up a blog in no time. These are the exact steps that I took to set up my blog and will make your experience so much easier!
Why Writing a Blog May be For You:
1. You can write about anything! (just make sure you’re passionate about the topic!)
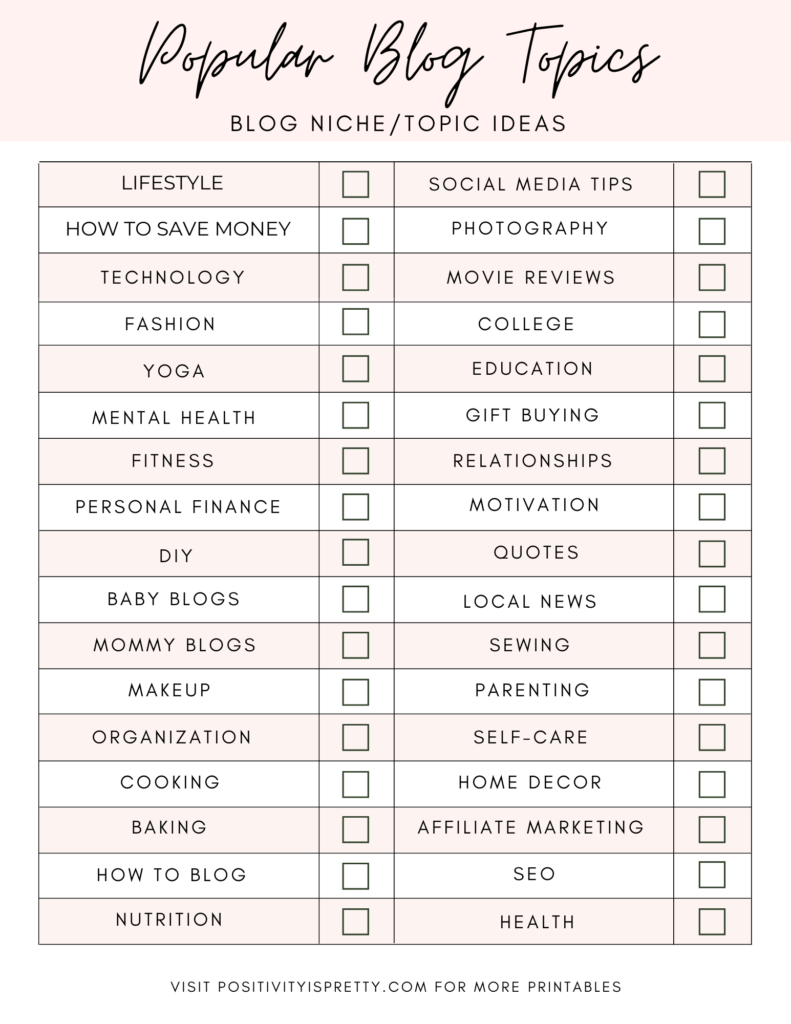
You can literally write about anything you find interesting on your blog and share it with others. Some super successful blog topics or niches can be found on the list below (click on the list to download it for free). I believe if you find the right audience, you can blog about ANYTHING! Here is a list of awesome blogging topics.
Click below to download the free popular blog topics PDF.
2. Blogs can be very helpful for others!
Most blog posts are informational and help others learn how to do something or give others new ideas. It can be very fulfilling to write blog posts that you know will hopefully help others.
3. Blogs can make you money!
Did you know that successful bloggers make a ton of money every month? Blogs can make money from affiliate marketing, advertisements, courses, products, etc. Of course, blogging is not an overnight success (at all!) This is one of the biggest misconceptions about blogging.
If you want to be successful, you will have to treat your blog like a job and work very hard!
If you work hard, usually the longer you blog, the more money you will start to make. Blogging is not a race. It requires patience and dedication. However, once you hit the blogging sweet spot of making a consistent amount of money every month, you’re golden! (Think about how happy you will be that you started your blog!)
4. Looks impressive on resumes!
If you start a self-hosted WordPress blog following the directions in this post, your blog will be set up to be your business. Think about how amazing owning your own successful blog will look on a resume. Starting and managing a blog shows initiative and character.
If creating your own blog still sounds like the right move for you, this step-by-step guide was made for you. When I decided to start a blog I did a ton of research about how to start a blog correctly because I wanted to make sure I was setting it up for success.
One thing that I noticed was that ALL of the best bloggers out there were stressing the importance of setting up a self-hosted blog. I knew that if all of the bloggers making thousands a month were doing this, I should too! Now, I completely understand why setting up a self-hosted WordPress blog is the way to go instead of using a free platform like Wix or Blogspot.
Why Not to Set up a Free Blog:
1. Limited features:
If you want a professional-looking blog, a free platform is not the way to go. You will get a very limited amount of features and your website won’t look very professional. Also, you usually have to put the free platforms name at the end of your URL which just doesn’t look professional.
2. Control the amount of money you make:
Free platforms ALWAYS want you to spring for their “upgrade” and will limit the amount of money you can make so that you have no choice but to upgrade. Also, a lot of Ad networks and some affiliate programs don’t trust free platforms and won’t accept you (which will keep you from monetizing your blog in more ways).
3. Less support:
Free services have no reason to help you as much because they aren’t really getting anything from you. One of the BEST features about self-hosting is their customer service! My blog host has the best customer service I’ve ever experienced.
4. Difficult and stressful to upgrade:
I’ve heard horror stories of bloggers trying to upgrade and losing all of their work. Links in old posts can be lost, formats can be messed up and it will probably cost a lot more money to fix.
5. Money = Business:
All businesses require money to get started! Oftentimes, those who pay for things are more likely to become successful than those who are handed things for free. This is because you want your money and hard work to pay off.
You will be more invested in making your blog a success and more importantly less likely to quit! (don’t quit blogging, keep going!)
Step-By-Step Guide On How To Start A Blog!
Click below to download the free start a blog PDF.
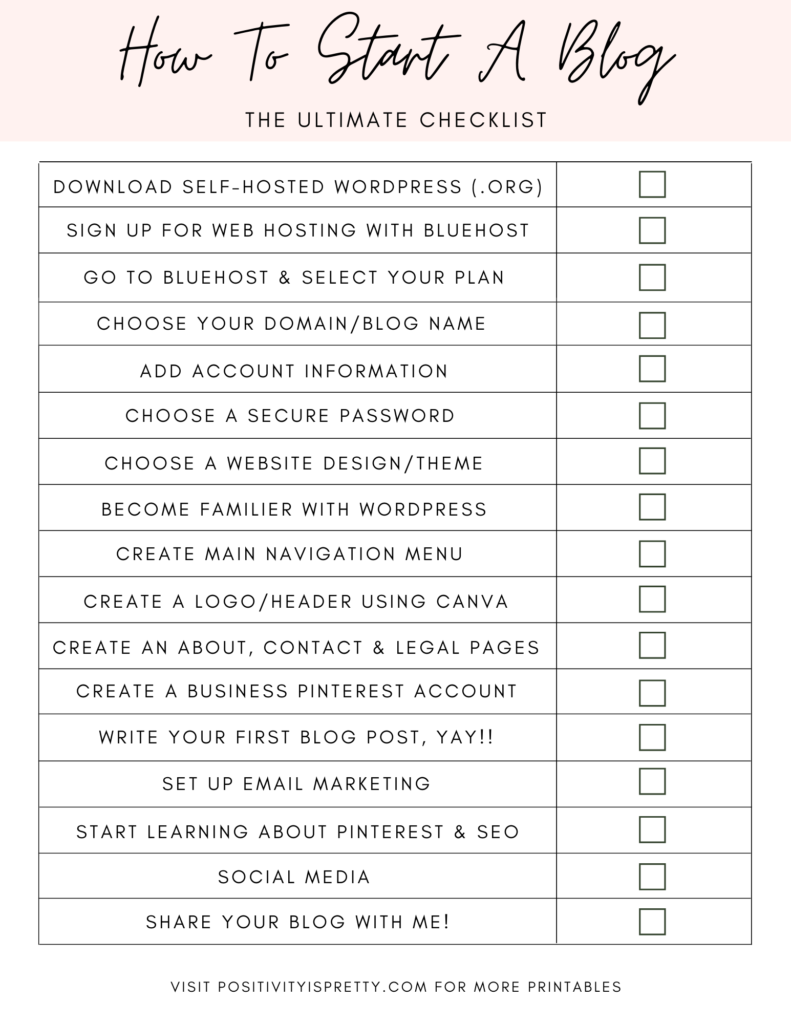
1. Download WordPress:
Click here to download WordPress. I recommend using WordPress because all of the best bloggers use WordPress and swear by their services. I use it too and it’s amazing!
WordPress is a free software that allows you to design your blog and write posts easily. There are a lot of different platforms out there, but in my opinion and a ton of others, WordPress is the best platform and will help you build a beautiful blog with ease!
WordPress has two options that you can choose from. They offer a hosted option (www.wordpress.com) and a self-hosted option (www.wordpress.org).
Make sure to choose the self-hosted option (www.wordpress.org) as it is preferred by the best bloggers and will give you more ownership over your blog. This step-by-step guide will only teach you how to start a self-hosted WordPress Blog. P.S. The .org is not something to fear. You can still have a .com website (like mine!)
To make things easier, download WordPress to your computer! This will help ensure that you’re the only one that can access your blog. Click here to download Self-Hosted WordPress (Click on “Download/Get WordPress”)
2. Sign Up For Web Hosting With Bluehost:
A host is a company that gives your blog space on its servers so that it can be reached by anyone online. Basically, it allows your blog to be viewed by the public.
Because your host is literally what is making your blog “live,” it’s super essential that you pick a quality and well-trusted one! I personally (as well as many top bloggers) use Bluehost and love them! Here are a few reasons why I recommend Bluehost.
1. Super Cheap:
Let’s face it, nobody wants to dump a ton of money into something. That’s why Bluehost is the best! Bluehost is reasonably priced (only $3.99/month for 36 months or $4.99/month for 12 months) but still gives you everything you need for a quality blog (which is so nice!)
2. Extremely Easy To Use:
I have been using Bluehost for more than a year now and my experience has been absolutely amazing!
The best part is that I’m nowhere near a techy person which means literally anyone can use Bluehost. It’s just that simple!
3. Amazing Customer Service:
I have literally never experienced better customer service in my life! They are both helpful and accommodating.
Starting and managing a blog comes with a lot of learning curves and sometimes you just need extra help (which is totally normal!)
Whenever I message Bluehost’s 24/7 customer support, I always hear back from them within minutes. They always help me with whatever I am asking about too, which is the best feeling ever!
3. Go To The Bluehost Website:
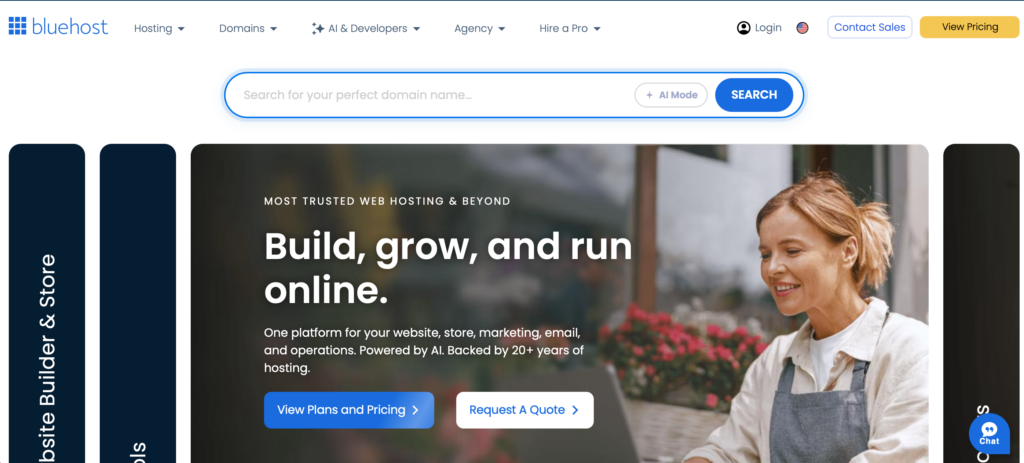
Go to the Bluehost website and click “view pricing.”
4. Select Your Plan:

This page shows you all of the different plans they offer. I definitely recommend changing the automatic “36 months” setting to “12 months.” I chose the 12 month plan when I started out and it worked great for me! Unfortunately they don’t allow you to pay monthly, however I do find it convenient to pay up front because it is nice to not have a monthly payment every month.
5. Choose a Domain/Blog Name:

This is one of the most fun and difficult parts! Your domain is what people type into the search bar to find your website. Mine is positivityispretty.com (don’t add the .com when searching domains.)
The best domains are short and memorable. If your blog name is catchy, people will remember it and share it more often, which is what you want!
If Bluehost says, “unable to continue” the name you’re trying to use already exists. This can be frustrating but at the end of the day if the name you want isn’t available it wasn’t meant to be.
Already have a domain name? Just put it into the “I have a domain name” box and continue following these steps (they are almost exactly the same!)
6. Account Information:
Once you choose an available domain name you will be taken to an account information page.
When Bluehost asks for your account information, make sure ALL of the information is correct. Bluehost will send important information (like your password) to your email address, so double-check that it’s correct.
You don’t need to add any “package extras.” You can un-click any that are checked in. I didn’t get these and never noticed a difference.
7. Choose a Secure Password:
After you fill out the account and payment information you will be asked if you want special deals and upgrades. You don’t need these, say no unless you really want them.
After your purchase is complete, Bluehost will ask you to create a password. Pick a password that you will remember. It will allow you to log into your portal and is VERY important!
8. Website Design:
This was my favorite part of setting up my blog! After you log in from the last step, a screen will appear that tells you to pick a theme. A website theme is the heart and soul of what your blog will look like.
I decided not to choose any of these themes because they don’t look very professional. With that said, I’m sure you can make one of these themes look professional with a little extra work.
Just remember that the more professional your website looks, the more people will want to stay. Your theme is literally the first impression your blog will make on others so you want it to be good!
I searched for a while to find a theme and decided on the Yoon theme from Skyandstarts.com. It was under $20 which is really good for such a professional-looking theme!
You can find a lot of their themes and awesome similar ones on Etsy too! Make sure that you buy a theme meant for a SELF-HOSTED WORDPRESS site.
People also LOVE 17 Avenue Designs themes! I did not pay for my theme to be set up by someone else (I didn’t want to spend any more money). Mine came with instructions and it was very simple! Most themes come with instructions, and you can totally set it up alone (doesn’t take very long), but if you’re super eager, you can usually pay the creator to set it up.
9. Become Familiar With WordPress:
Yay! Congratulations on your new blog, this is so exciting!
Now that you’re the proud new owner of an amazing blog, you’ll need to become familiar with the WordPress back-office (literally where all of the blog magic happens!).
WordPress Basics:

1. Left Navigation Bar:
If you’re ever looking for anything, it can usually be found on your main navigation bar on the left. The navigation bar is to the left and says “dashboard” at the top of the bar.
2. Pages verses Posts:
Pages are important things on your website that usually don’t change. The pages on my blog are my home page, about page, contact page, and recommendations page.
Posts are where you will write all of your content (blog posts.) You can’t organize pages into categories and tags but you can and should with posts.
To create a new post, select the “posts” tab on your main navigation bar to the left. Next, click “add new” and it will take you to the post builder.
If you want to create a new page, select the “pages” tab on your main navigation bar to the left. Next, click “add new” and it will take you to the page builder.
3. Appearance:
It allows you to edit theme settings and create your blog’s main navigation bar. To create your navigation bar, first, go to “Posts” and then “Categories.” The screen should match the picture below.

Next, scroll down to where it says “add new category.” You can see that my categories include (college, high school, and positivity.) Categories allow you to organize your posts. First, type in the category name. For “slug” type in the same word (category). Don’t worry about parent categories right now.
Add a description if you want but you don’t need to.

Once you create your categories go to “Appearance” and click on, “Menus.” To the left, you will see “Add Menu Items.”
Press the “categories” button and all of the ones you made should appear. Click on the ones you want to add and then select, “Add To Menu.”
The final step is to scroll down and press “Save Menu.”

Yay! Now your main navigation bar is all set up!
4. Media:
This is where you can upload all of your photos, videos, and PDFs. Make sure that you don’t use copyright images (you can get in big trouble for this!)
My favorite free stock photos that you can use on your blog are from Pexels.com and Pixabay.com
5. Plugins:
These are like apps for your website. They allow you to do a ton of different things! There are a lot of plugins so it’s worth doing some research about which ones will work best for you. Most are free too!
My Favorite Free Plugins (great for new bloggers!):
Google Analytics for WordPress by MonsterInsights (MOST important!) This Plugin tracks a ton of data including how many visitors come to your blog every day and what posts/pages are most popular.
GS Pins for Pinterest Lite: This allows me to embed any Pinterest URL into my site. Example Below!